

Key takeaways
- You can install most blinds yourself in under an hour with a drill, a spirit level, a tape measure, and a pencil.
- Accurate measuring decides everything: confirm inside or outside mount before you mark a single bracket hole.
- Fix brackets into the window frame or masonry, not plasterboard alone, so the blind holds weight over years of use.
- Choose cordless blinds in homes with young children; around nine children under five die each year from window-covering cord strangulation.
- Call a professional for very wide spans, motorised systems, or awkward masonry where a mistake is costly to fix.
You can install most blinds yourself in under an hour using a drill, a tape measure, a spirit level, and a pencil. The job comes down to four things: measuring the window, fixing the brackets square and level, clipping the blind into place, and testing that it raises and tilts smoothly. This guide walks through each step so your first attempt looks like a fitter did it.
Learning how to install blinds is one of the easier home improvement wins. DIY stays the dominant approach to household projects: 52% of homeowners completed their projects DIY-only in 2025, down slightly from 57% in 2024 (Home Improvement Research Institute, 2025). Blinds sit firmly in that DIY-friendly range for anyone comfortable with a drill.
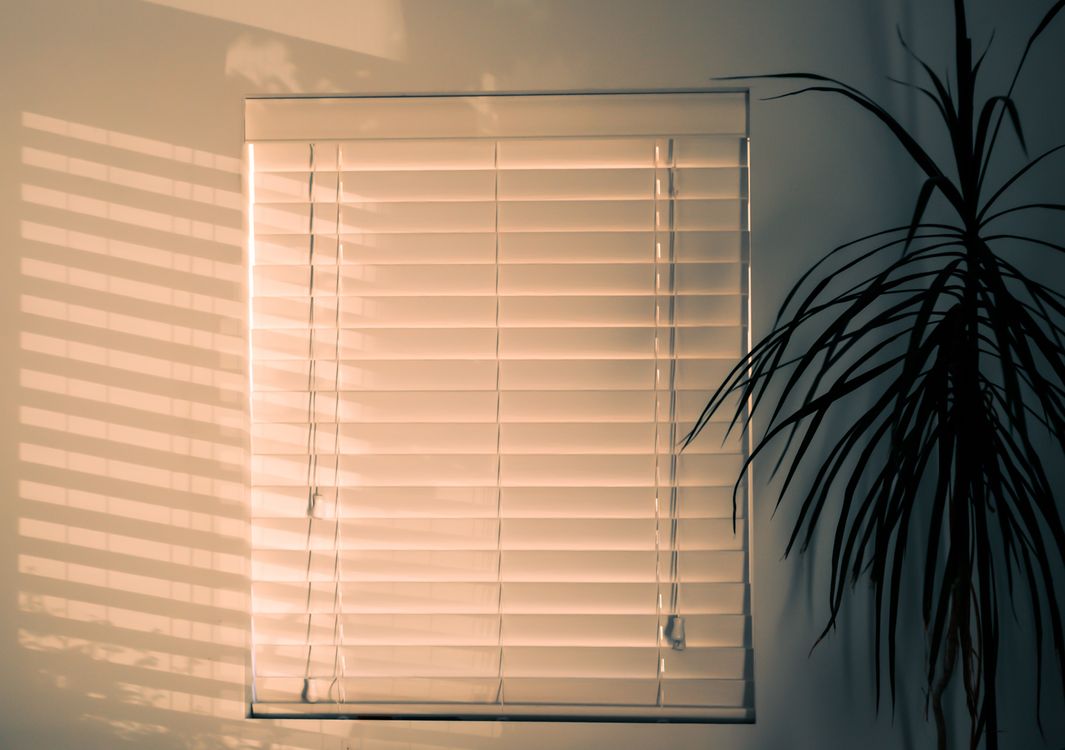
What Tools and Hardware Do You Need to Install Blinds?
For a standard DIY blinds installation you need a cordless drill, a tape measure, a spirit level, a pencil, and a screwdriver. Most blinds arrive with their own brackets and screws. The only extras you might buy are wall plugs and a masonry bit if you are fixing into brick rather than a timber frame.
Lay everything out before you start. A basic kit covers almost every job:
- Cordless drill with a pilot bit and a driver bit
- Masonry bit and wall plugs for brick or concrete reveals
- Tape measure and a pencil for marking
- Spirit level, or a phone level app, to keep the headrail straight
- Step ladder for taller windows
- Safety glasses, because masonry dust flies
Check the pack contents against the instructions first. Manufacturers size the screws to the bracket, so avoid swapping them for random screws from a drawer. If a bracket feels flimsy for a heavy wooden venetian, that is a signal the fixings matter. Wood and aluminium slats carry very different weights, so knowing your slat material before you drill makes the whole job easier to plan.
Why does the right bit matter so much? A pilot hole stops timber from splitting and keeps the screw centred. Skipping it is the most common reason a bracket ends up crooked.
How Do You Mark and Fix Brackets Correctly?
Mark your bracket positions first, check them with a level, and only then drill. Brackets sit near each end of the headrail, roughly 75mm in from each edge, with a third bracket in the centre for blinds wider than about a metre. Getting the brackets level is the single factor that decides whether the finished blind hangs straight.
Hold the headrail in position and mark the bracket holes with a pencil. Use the spirit level across both marks so the blind will not droop at one end. For a timber frame, drill a pilot hole and drive the screw straight in. For brick or a plastered masonry reveal, drill with a masonry bit, tap in a wall plug, then screw the bracket tight.
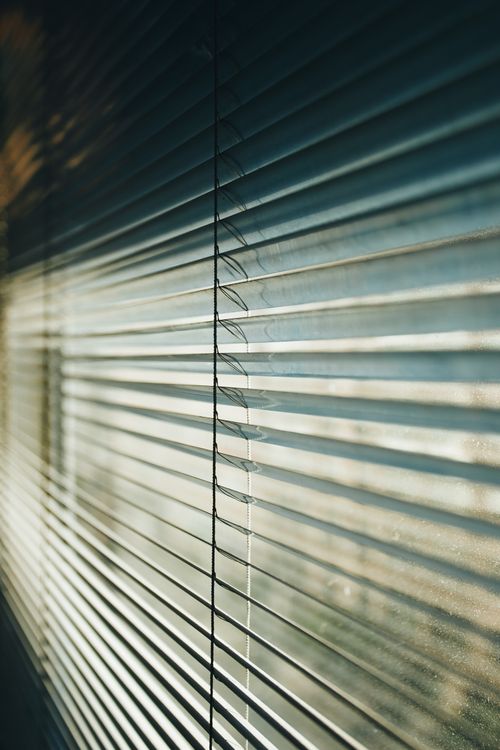
Fix into something solid. Plasterboard alone will not hold a blind for long, so find the frame, the reveal, or masonry behind it. In my experience, the brackets that fail within a year were almost always screwed into hollow board without a proper anchor. A blind that sags or pulls loose is nearly always a fixing problem rather than a product fault.
Measuring correctly before any of this saves a ruined blind. If you have not confirmed your window sizes yet, read how to measure windows for blinds accurately before you order.
Inside Mount or Outside Mount: Which Should You Choose?
An inside mount fits the blind inside the window recess for a clean, built-in look, while an outside mount fixes it to the wall or frame above the window to cover more glass. Your choice depends on recess depth, how much light you want to block, and the look you prefer. Decide this before marking brackets, because each mount uses different bracket positions.
Inside mount suits deep, square recesses. It looks neat and leaves the sill clear, but it needs enough depth so the blind clears the window handle and sits flush. Measure the recess depth against the blind's minimum depth in the instructions.
Outside mount works when the recess is shallow, out of square, or when you want maximum light control and privacy. Because the blind overlaps the opening, it blocks more light leak at the edges. Outside mount is the usual pick for bedrooms where darkness matters, and it pairs well with blackout fabrics for better sleep.
Which one blocks heat better? An outside mount that overlaps the glass reduces edge gaps, and closing light-coloured blinds against a sunny window cuts a meaningful share of summer heat gain, which eases the load on cooling. Guidance from energy authorities treats blinds as a genuine tool for managing heat, not just a decorative finish.
How Do You Fit the Blind and Test It Works?
Once the brackets are level and tight, clip the headrail in, lock the brackets closed, then operate the blind fully to confirm smooth movement. Fitting the blind itself is the quickest step. The care you put into marking and fixing pays off here, because a square set of brackets lets the headrail snap in without forcing.
Follow the sequence for a clean result:
- Lift the headrail into the open brackets, front edge first.
- Rotate or push the headrail back until each bracket clip clicks shut.
- Lock any bracket gates so the blind cannot drop out.
- Fit the wand, chain, or cord guide and the safety cleat if one is supplied.
- Lower and raise the blind fully, then tilt the slats open and closed.
Watch for two faults while testing. If the blind binds or sits at a slant, a bracket is out of level, so loosen it and recheck with the spirit level. If slats catch on the frame, your mount clearance is too tight, which usually points back to recess depth. Correcting these now is easy while the window is still your workbench.
Finish with safety, especially in family homes. Around nine children under five die each year from strangling in the cords of window blinds, shades, and other coverings, which is why safety bodies push cordless and inaccessible-cord designs (U.S. Consumer Product Safety Commission, 2023). If your blind has a cord, fit the supplied cleat high on the wall and wind the cord out of a child's reach.
When Should You Call a Professional Instead?
Call a professional when the window is very wide, the blinds are motorised, the masonry is crumbling, or the product is expensive made-to-measure joinery. DIY handles the vast majority of standard windows, but some jobs carry enough risk that paying a fitter is the cheaper outcome once you count the cost of mistakes.
A few situations tip the balance toward professional fitting:
- Very wide spans or sliding doors, where heavy headrails need precise bracket spacing and often an extra pair of hands.
- Motorised or smart blinds that involve concealed wiring, battery tubes, or integration with home systems.
- Crumbling, hollow, or heritage masonry where a standard wall plug will not hold.
- Premium shutters or large custom orders, where a drilling error means replacing a costly panel.
There is no shame in the handover. Even confident DIYers stop short at motorisation and large spans. Jacobs Blinds and Shutters fits these harder jobs across the Cape Peninsula when a window is beyond a comfortable DIY attempt, from wide sliding doors to motorised systems.
Ready to start? Measure your windows carefully, order blinds to the exact mount you have chosen, and set aside an unhurried hour for the first one. If a particular window looks like trouble, book a professional for that one and keep the straightforward rooms for yourself.
Frequently asked questions
How long does it take to install blinds yourself?
Most standard windows take 30 to 60 minutes once you have measured correctly. Your first blind is the slowest. After that, each one goes faster because you already know the bracket spacing and drilling routine.
Do I need to drill into the wall to fit blinds?
Usually yes. Brackets screw into the window frame, the reveal, or the masonry above the window. Timber frames accept screws directly. For brick or concrete you need a masonry bit and wall plugs so the fixings grip.
What is the difference between an inside and outside mount?
An inside mount sits the blind inside the window recess for a neat, built-in look. An outside mount fixes the blind to the wall or frame above the window, covering more glass and blocking more light.
Can I install blinds without a drill?
Some lightweight roller and perfect-fit blinds use no-drill tension or clip brackets that clamp onto a uPVC frame. Heavier venetian and wooden blinds need screwed brackets, so a drill is the reliable choice for most windows.
When should I call a professional instead of doing it myself?
Call a professional for very wide windows, motorised blinds, concealed wiring, crumbling masonry, or expensive made-to-measure shutters. The cost of correcting a botched install on these jobs often exceeds the price of fitting them properly the first time.